Creating A New Project and Adding Supports
Step 1: Creating your first project
There are different ways to create new projects in Assistant.
If you have just started the software, you can create a project right from the Start Page by
clicking on the “Create new project” button. You can also use
 “Create new project” on the app
toolbar or in “Project” menu.
“Create new project” on the app
toolbar or in “Project” menu.
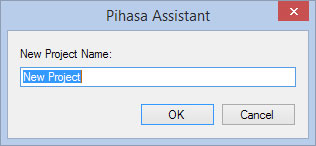
Just name the project and start.
Step 2: Adding new folders
To start organizing pipe supports, you can add  folders and subfolders.
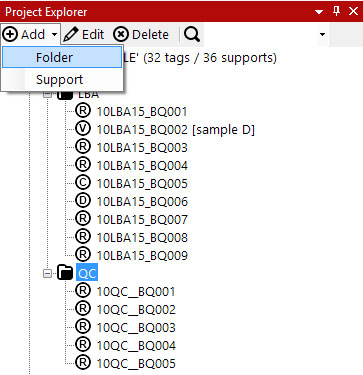
Once a project is open, select it to add folders and press
 Add > Folder (or right-click on it
and use contextual menu). Just name the folder and continue.
Add > Folder (or right-click on it
and use contextual menu). Just name the folder and continue.
To add subfolders, simply select an existing folder and follow the same process.
Step 3: Creating new supports via Microsoft® Excel
Once you have created a project, it’s time to ramp it up with more information!
You can add supports manually, but you can also migrate data using Microsoft® Excel. This section
will tell you the best way to sort all your supports into projects and get them into Assistant.
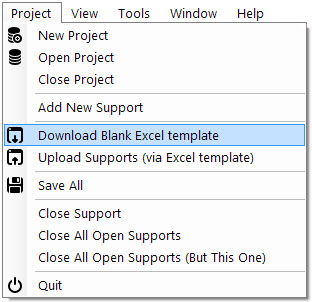
- Go to menu Project >
 Download blank Excel template.
 - Select a destination folder to download the blank template.
- Fill in all pipe support information in the downloaded template (one support per row). The only compulsory field is “Support Tag” (used as key which must be unique).
- Go to menu Project >
 Upload Supports (via Excel template). The upload feature will only add new support
tags. It doesn’t update existing supports.
Upload Supports (via Excel template). The upload feature will only add new support
tags. It doesn’t update existing supports.
Step 4: Creating new supports manually
Of course, you can also add supports one by one. Simply click the folder you want to create the
pipe support at and click Add >
Support. The system will create a new support which can be updated to meet your needs.
For more information, check the following sections:
Still need help?
Have more questions? Contact Pihasa and the support team will get back to you as soon as possible.